Let’s discuss Recuva for Android Phones.
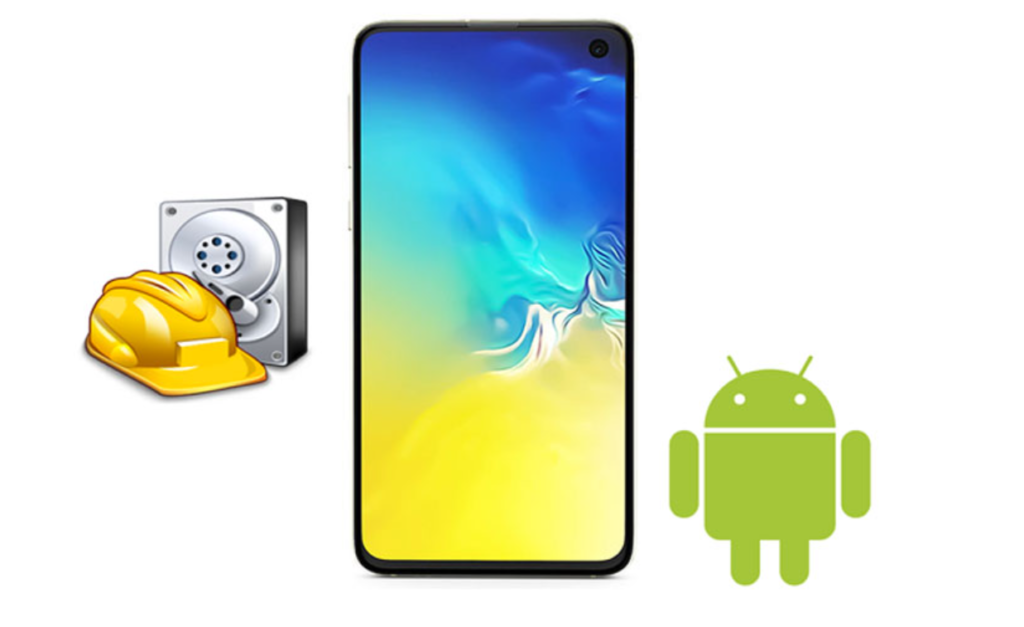
Recuva for Android Phones
Source: Cool Muster
Introduction
Recuva for Android is a powerful data recovery tool designed to help Android users retrieve accidentally deleted files. Whether you’ve lost precious photos, important documents, or crucial videos, Recuva can be your lifeline in recovering them. In this comprehensive guide, we’ll explore how Recuva works, how to get started with it, and essential tips for successful data recovery.
How to Use Recuva for Android
Recuva employs a robust algorithm to scan Android storage devices and recover deleted files. Let’s explore its inner workings:
-
Scanning Process:
- When you launch Recuva on your Windows PC, connect your Android device (via an SD card or internal memory) to the computer.
- Recuva scans the storage medium, searching for traces of deleted files. It examines the file system and identifies clusters that were previously occupied by deleted data.
- The tool then reconstructs the file structure, attempting to retrieve files that have been marked as deleted but still exist on the storage.
-
File Types Supported:
- Recuva can recover various file types commonly found on Android devices:
- Photos and Images: Whether it’s a cherished family picture or a snapshot from your last vacation, Recuva can retrieve them.
- Videos: Accidentally deleted videos? Recuva can salvage those too.
- Documents and Text Files: Recover lost documents, spreadsheets, and notes.
- Music and Audio Files: Retrieve your favorite tunes and audio recordings.
- Recuva can recover various file types commonly found on Android devices:
-
Quick Scan vs. Deep Scan:
- Recuva offers two scanning options:
- Quick Scan: This option is faster and suitable for recent deletions. It scans the file system metadata and provides instant results.
- Deep Scan: For more thorough recovery, choose the deep scan. It examines the entire storage, including unallocated clusters. While it takes longer, it increases the chances of recovering older or fragmented files.
- Recuva offers two scanning options:
-
Preview and Selective Recovery:
- During the scan, Recuva displays a list of recoverable files. You can preview them to ensure they’re the ones you need.
- Select the files you want to recover and specify the destination (preferably a different drive to avoid overwriting).
-
Act Quickly:
- Time is critical in data recovery. The sooner you run Recuva after accidental deletion, the better your chances of successful recovery.
- Avoid using the Android device extensively until you’ve completed the recovery process.
Remember, Recuva is a powerful tool, but it’s not foolproof. Some files may be irreversibly damaged or overwritten. However, for most accidental deletions, Recuva can be your data superhero! 🦸♂️
Next up, we’ll guide you through installing and setting up Recuva on your Windows PC. 😊
Installing Recuva on Windows PC
Before diving into Android data recovery, let’s set up Recuva on your Windows PC. Follow these steps to get started:
-
Installation and Setup:
- Connect Your Android Device: Use a card reader to connect your Android SD card or internal memory to your Windows computer.
- Download Recuva: Visit the official Recuva website and download the free version of Recuva.
- Install Recuva: Run the installer and follow the on-screen instructions. Choose the installation location (preferably on a different drive than the one you’re recovering data from).
-
Precautions:
- Act Quickly: Time is of the essence. As soon as you realize data loss, run Recuva. The longer you wait, the higher the risk of overwritten data.
- Minimal Device Usage: Avoid using your Android device extensively during the recovery process. New data could overwrite the deleted files you’re trying to recover.
-
Launching Recuva:
- Open Recuva on your Windows PC.
- Select the Drive: Choose the drive corresponding to your Android device (usually labeled as an external drive or removable storage).
- File Types: Specify the file types you want to recover (e.g., photos, videos, documents).
- Scan Options: Decide between a quick scan (for recent deletions) or a deep scan (for thorough recovery).
-
Scanning Process:
- Recuva scans the selected drive, searching for deleted files. It examines the file system metadata and identifies clusters that were previously occupied by deleted data.
- During the scan, you’ll see a list of recoverable files. Preview them to ensure they’re the ones you need.
-
Recovering Files:
- Select the files you want to recover.
- Choose a different drive or location to save the recovered files (to avoid overwriting).
- Click “Recover” to initiate the restoration process.
Remember, Recuva is a valuable tool, but it’s essential to follow these steps carefully. In the next section, we’ll explore the specifics of using Recuva for Android file recovery. 📂🔍
How to Use Recuva for Android Files Recovery
Now that you’re familiar with Recuva’s basics, let’s explore how to use it effectively for Android file recovery:
-
File Type Selection:
- When you launch Recuva, it prompts you to choose the types of files you want to recover. Select the relevant categories (e.g., photos, videos, music).
- By narrowing down the search, you can speed up the scanning process and focus on specific file types.
-
Choosing the File Location:
- Specify the location where the deleted files were originally stored:
- MicroSD Card: If you accidentally deleted files from an external microSD card.
- Android Phone’s Internal Memory: If the files were stored directly on your phone.
- Be precise about the location to improve scan accuracy.
- Specify the location where the deleted files were originally stored:
-
Scanning Options:
- Recuva offers two scanning modes:
- Quick Scan: Ideal for recent deletions. It scans the file system metadata and provides instant results.
- Deep Scan: A more thorough option that examines the entire storage, including unallocated clusters. It takes longer but increases the chances of recovering older or fragmented files.
- Consider using deep scan when quick scan doesn’t yield the desired results.
- Recuva offers two scanning modes:
-
Preview and Recovery:
- As Recuva scans, it displays a list of recoverable files. Preview them to ensure they’re the ones you need.
- Select the files you want to recover by checking the corresponding boxes.
- Choose a different drive or location to save the recovered files. Avoid saving them to the same drive you’re recovering from to prevent overwriting.
-
Act Swiftly:
- Remember, time is critical. The sooner you run Recuva after accidental deletion, the better your chances of successful recovery.
- Avoid using your Android device extensively until the recovery process is complete.
-
File Systems Supported:
- Recuva works with various file systems, including FAT12, FAT16, FAT32, exFAT, NTFS, NTFS5, and NTFS + EFS. Ensure your Android storage uses one of these formats.
-
Portable Version:
- If you’re concerned about accidentally overwriting files during installation, consider using Recuva’s portable version. It runs directly from a USB drive without installation.
-
Free vs. Professional Versions:
- Recuva offers both free and paid versions. The free version is sufficient for most users, but the professional version provides additional features and priority support.
Remember, Recuva is a valuable tool, but successful recovery depends on several factors, including the time elapsed since deletion and the extent of data fragmentation. In the next section, we’ll explore alternatives to Recuva for Android data recovery. 📂🔍
Tips and Best Practices
As you delve deeper into using Recuva for Android, consider the following tips and best practices to maximize your chances of successful data recovery:
-
File Systems Supported:
- Recuva works seamlessly with various file systems, including FAT12, FAT16, FAT32, exFAT, NTFS, NTFS5, and NTFS + EFS. Ensure that your Android storage uses one of these formats for optimal results.
-
Portable Version:
- Worried about accidentally overwriting files during installation? Opt for Recuva’s portable version. It runs directly from a USB drive without the need for installation, minimizing the risk of data loss.
-
Secure File Deletion:
- Recuva not only recovers files but also offers secure file deletion. If you have sensitive data you want to permanently erase, Recuva can help.
-
Free vs. Professional Versions:
- Recuva comes in both free and professional versions. While the free version suffices for most users, the professional version provides additional features and priority support.
-
Act Swiftly:
- Time is critical in data recovery. As soon as you realize data loss, run Recuva. The longer you wait, the higher the risk of overwritten data.
- Avoid using your Android device extensively until the recovery process is complete.
-
Selective Recovery:
- Preview the list of recoverable files during the scan. Select only the files you need to avoid cluttering your storage with unnecessary data.
-
Backup Your Recovered Files:
- Once you’ve successfully recovered your files, create a backup. Store them on a different drive or cloud storage to prevent future data loss.
-
Avoid Overwriting:
- When saving recovered files, choose a different location from the one you’re recovering from. Overwriting the same drive could lead to permanent data loss.
Remember, while Recuva is a powerful tool, it’s essential to follow these guidelines for optimal results. In the next section, we’ll explore alternative data recovery options for Android users. 📂🔍
Recuva Alternatives
While Recuva is a reliable choice for Android data recovery, it’s essential to explore other options as well. Here are some alternatives to consider:
-
FonePaw Android Data Recovery:
- FonePaw offers a user-friendly interface and robust recovery capabilities.
- It can retrieve various file types, including contacts, messages, photos, videos, and more.
- The software supports both internal memory and external storage (SD cards).
-
Dr.Fone – Data Recovery (Android):
- Dr.Fone is a comprehensive toolkit that includes Android data recovery.
- It can recover lost data due to accidental deletion, system crashes, rooting, or other issues.
- Dr.Fone supports a wide range of Android devices and versions.
-
DiskDigger:
- DiskDigger is another powerful tool for Android data recovery.
- It can scan both internal memory and external storage.
- The free version allows you to recover photos and videos, while the pro version offers additional features.
-
EaseUS MobiSaver for Android:
- EaseUS MobiSaver specializes in recovering deleted files from Android devices.
- It supports various file formats and provides an intuitive interface.
- The software can handle accidental deletions, formatting, and other data loss scenarios.
-
Wondershare Recoverit:
- Although primarily known for PC data recovery, Wondershare Recoverit also offers an Android version.
- It can retrieve photos, videos, documents, and more.
- The software emphasizes ease of use and efficiency.
Remember to choose an alternative based on your specific needs, device compatibility, and the type of data you want to recover. Each tool has its strengths, so explore and find the one that suits you best.
Conclusion: Recuva for Android
In this comprehensive guide, we’ve explored the world of Recuva for Android—a powerful data recovery tool that can be your lifeline when you accidentally delete files. Let’s recap our journey:
-
Introduction: We introduced Recuva as a reliable solution for Android users seeking to recover lost data. Its relevance for accidental deletions makes it a must-have tool.
-
How Recuva Works: We delved into Recuva’s scanning process, file type support, and the difference between quick and deep scans. Remember, time is critical in data recovery.
-
Getting Started with Recuva: We guided you through installation, setup, and precautions. Acting swiftly and minimizing device usage are key.
-
Using Recuva for Android Files Recovery: From file type selection to previewing and recovering files, we covered the essential steps. Selective recovery and avoiding overwriting are crucial.
-
Tips and Best Practices: We shared insights on file systems, the portable version, secure file deletion, and the free vs. professional versions.
-
Alternatives to Recuva: While Recuva is excellent, we explored other tools like FonePaw, Dr.Fone, DiskDigger, EaseUS MobiSaver, and Wondershare Recoverit.
Remember, data recovery success depends on various factors, but armed with Recuva (or its alternatives), you’re better equipped to retrieve your precious files.
So go ahead, recover those memories, documents, and videos—because with Recuva, lost doesn’t mean gone forever! 📂🔍
Learn more on Here
Check Best AI Tools for Small Business
–>Get Professional Hosting for low as $2.99/month +Free domain, to host upto 30 websites. Get 20% discount using this special link: “Hostinger 20% OFF“ <–
Newsletter!
Are you not yet subscribed to our free Newsletter?
Subscribe below to get the latest trends sent to you email every week!